Bruce suggested a little DBA 3.0 "Book 3" Dark Ages action and provided the representative armies.
Bruce commanded Nikephorian Byzantines (III/65) and I ran Khurasanians (III/43). The Byzantines feature a core of Skoutatoi (8Bw) and Kavallarioi (3Cv) with some exotics like Klibanophoroi (6Kn) and Varangian mercenaries (4Bd), supported by foot and mounted light troops.
The Khurasanians are based around the Ghulam infantry (4Sp) and cavalry (3Cv), supported by some archers (4Bw) and various tribal light troops. Both armies deployed with infantry centers and mounted wings.
The Khurasanians were defending their Dry (terrain type) homeland from Byzantine invasion; as the defender I had to deploy first, so tried to roll up defensible terrain. We ended up with Scrub (Rough Going) on my right flank, and Woods (Difficult Going) on my left. I deployed the largest command, the spear-armed infantry in the center, with a mounted command on each wing, with the light troops holding the Rough and Difficult terrain. I needed a balanced deployment that could hopefully delay the strong Byzantine mounted wings while the center infantry proved decisive.
Both armies began with a general advance, while the Khurasanians maneuvered the left-wing cavalry around the woods to block the Byzantine right-flank mounted advance.
As the main lines drew near each other, seeing the Byzantines on the ends of their center line formed up unnecessarily deep, and liking the match-up between the 4Sp and the Byzantine 8Bw in close combat, I pushed the center into contact.
The good match-ups and the deep Byzantine formations that made recoils impossible led to eliminations in the Byzantine center and left flank commands.
Some good (lucky?) shooting from the archers on the Khurasanian right flank led to the demoralization of the Byzantine left flank, and the Khurasanians began to wheel toward the center to keep up the pressure. FYI that is the Byzantine "dead pile" visible in the upper left of the second of the following photos.
A little more pressure demoralized the Byzantine center command a couple bounds later, signaling their defeat.
The Khurasanian left flank held off the Byzantine onslaught, even as the Klibanophoroi drove deep into their mounted opponents. Thanks for a fun game, Bruce!
Now, what do I want to do for Recruits next month?
Even though a fan of Command and Colors: Ancients, I was surprised to learn about the Kickstarter for a "Space Fleet Warfare" version of the game. Seemed like it might be a "stretch" for the system. So I downloaded the rules from the Kickstarter site and quickly saw that not only wasn't it a stretch, it was actually a pretty good way to portray the "relative positional" nature of what I think battles between capital ships might look like, as opposed to gaming them like "dogfighting" smaller, fighter-type ships. Could this be the way to play with my Star Trek models? Maybe. . .
I jumped in with both feet and got all the unlocked supplements, too. There are lots of reviews and "unboxing" videos on the web, so I won't go into detail, but I will say the components are very nice. . .
The supplements are impressive, too. More ship types, terrain tiles and additional rules. And dice!
The board - mat, in this case - is nice and big. Fills up half the ping-pong table we play on.
And it works with my 1/2500-scale Star Trek models.
Rather than play with multiple models per hex as provided, I'll play with a single model with multiple "shields" instead.
Do you have your ticket yet for the Wiley Wargame Weekend? Whatcha' waitin' for?
See ya!
Read Chapter One here. A Chapter ends when the Tiffin Card is the first card turned up in a turn, so can theoretically happen at the beginning of any turn. It represents a cinematic lull in the action. Some battlefield housecleaning can happen, like all unloaded groups reload, or groups low on ammo can re-supply if their force has an Ammunition Wagon. Well. . . the Indians were low on ammo. No wagon was available, but in the spirit of "Kriegspiel" we suggested they would have had the time to scrounge the ammo from the dead Marines around them, so permitted them to re-supply.
Chapter Two started with the deployment of the Provincial Status II Leader at the barn with the second group of Regulars. Shortly after, reinvigorated musket fire from the Indians loaded the British Regulars with enough shock to force them to retreat. Another roll on the Bad Things Happen Table and another reduction to British Force Morale followed.
One of the Marine groups was down to one man and its Leader. The Provincials in the Farmhouse traded more casualties and shock with the French Militia.
Then that little Marine group captured the British Primary Deployment Point which caused a big roll on the Bad Things Happen Table. British Morale was beginning to erode!
The Status III British Regular Leader finally rallied off enough Shock to get his group moving across the back of the farm. The Regulars moved up to engage the French Militia while the Provincials moved up to support the British Regulars.
The Provincial Regulars in the farmhouse, who had been under fire from both groups of French Militia and the Indians, were eventually killed to a man. Another roll on the Bad Things Happen Table led to another Morale reduction. With no more fire coming from the farmhouse, the Provincial Rangers made a run for it, braving a withering fire from the Indians in the tree line!
The Rangers made it into the farmhouse and began to fire into the French Militia and Indians in support of the British and Provincial Regulars. The red-capped Militia were forced to retreat a couple of times, finally forcing the French to roll on the Bad Things Happen Table. Another Random Event got the blue-capped Militia an extra firing action into the farmhouse, wounding the Ranger Status II Leader and reducing him to Status I. Another roll on that damned Table. . .
The red-capped Militia broke and bolted - another French morale reduction.
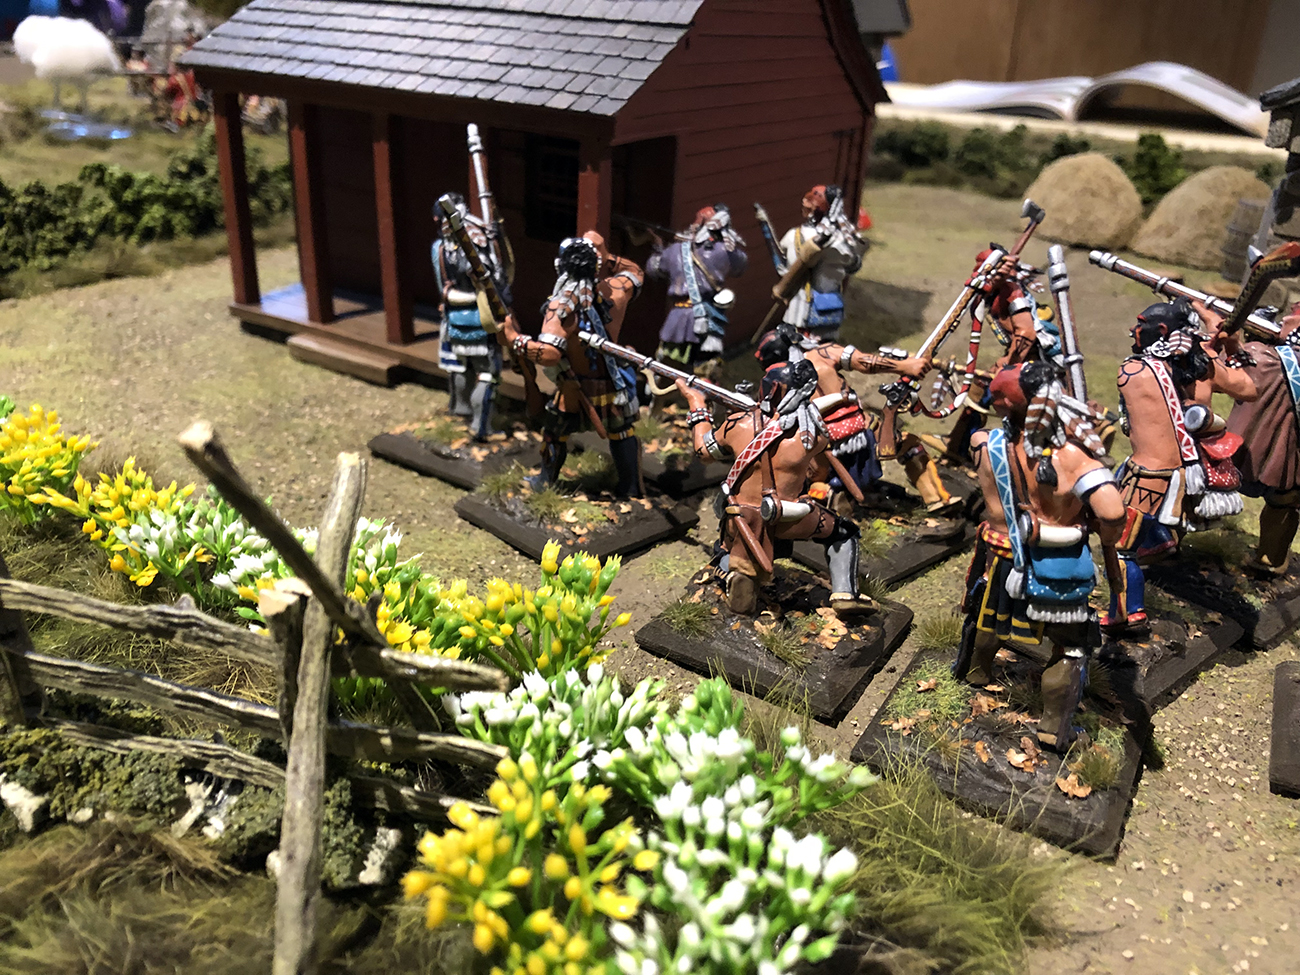
The Indians finally had enough of pot-shooting from the trees and seeing the Ranger fire from the farmhouse dwindle, burst from the woods with a blood-curdling noise!
The Indians attacked the farmhouse, losing a couple of their brothers to Ranger musket fire on the way in. The "tomahawks" rule turned out to be nasty used with a group this big, and the Rangers were overwhelmed and slaughtered.
The loss of the Rangers took the British Force Morale down to "1," so the British conceded, as they were way behind the French on the Morale Track.
What did we think of the game? To a man, our Gang of Four all agreed we want to play Sharp Practice 2 again, despite our intro to the game lasting 6 hours! So why did it take us 6 hours? Well. . . it was our first game and we knew there would be a learning curve, though our later turns seemed to breeze along at a decent pace as our comfort level increased. There were a couple of additional reasons.
First, about halfway through the first Chapter we apparently thought we had the Hit Effect Table memorized and stopped referring to it, and began only counting Kills in Hard Cover, but not applying the appropriate Shock. This kept all of the groups in the buildings and in the trees (because Skirmishers count as one Cover level higher) operating longer and at full capacity, rather than suffering the effects of Shock.
Second, I gave the Provincial Skirmishers a Moveable Deployment Point they shouldn't have had. Without this Moveable Point, all of the British would have deployed entirely from the Primary Point on the road and the fight would most likely have been less centered on the farmhouse, and been less of a "siege." The Deployment Point mechanics are a feature of the game I really like.
Thoughts on the rules overall? SP2 is fun. The focus on leaders is cinematic and provides a lot of opportunities to effect the course of the battle. Management of your forces, and using the rules to get the best performance from each group under your command, are key to winning on the SP2 battlefield.
SP2 is not complicated, but it has a lot of moving parts. It is important to fully understand the nuances of the game mechanics. In particular, one needs to understand the differences between Command Initiatives and Activations, and Groups versus Formations. Actually playing the game helps bring it all into focus, and we found the video "tutorials" from the Lardies really helped us in our first game.
I want to play Sharp Practice 2 some more. See ya!